2026 How to Build a Plywood Table with Simple Steps?
Creating a Plywood Table can be a rewarding DIY project. Mark Stevens, a renowned furniture designer, once said, “A good table brings people together.” This idea resonates deeply, especially when considering a handcrafted plywood table.
Building your own table allows for personalization. It is an opportunity to reflect your style. Choosing the right plywood quality is crucial. Not all plywood is created equal. Some types can warp or degrade over time. You want a table that lasts, so spend wisely.
Along the building journey, you may encounter challenges. Perhaps the cuts aren’t perfectly straight. Maybe the assembly doesn’t align as expected. These moments require patience. Each mistake is a chance to learn. Embrace the process, and your Plywood Table will become more than just furniture; it will be a testament to your skills and creativity.
Understanding the Materials Needed for a Plywood Table
Building a plywood table starts with understanding the materials.
Plywood is a popular choice for its strength, flexibility, and cost-effectiveness.
According to industry studies, plywood can handle significant weight and stress, making it ideal for furniture.
The layers of veneer used in plywood enhance its durability and resistance to warping.
However, the quality of wood can vary, leading to inconsistencies.
You will need some essential tools and materials.
A circular saw or jigsaw is crucial for cutting the plywood.
Measuring tapes ensure your dimensions are accurate.
Sandpaper helps to smooth the edges.
Plywood sheets come in various thicknesses. Most furniture projects use ¾ inch thick plywood for stability.
Consider also using wood glue and screws for a strong assembly.
Choosing the right finish is also vital.
Stains or paints can affect appearance and durability.
A poor choice here can lead to peeling or fading. Some finishes are not water-resistant.
It’s crucial to do tests before applying any finish.
Reflecting on these details will help you avoid costly mistakes.
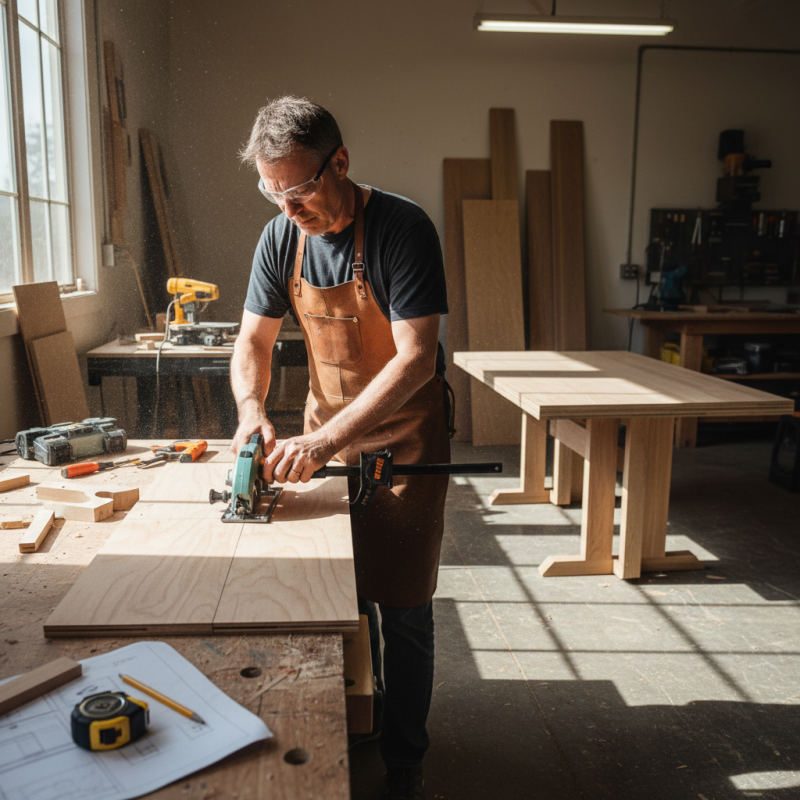
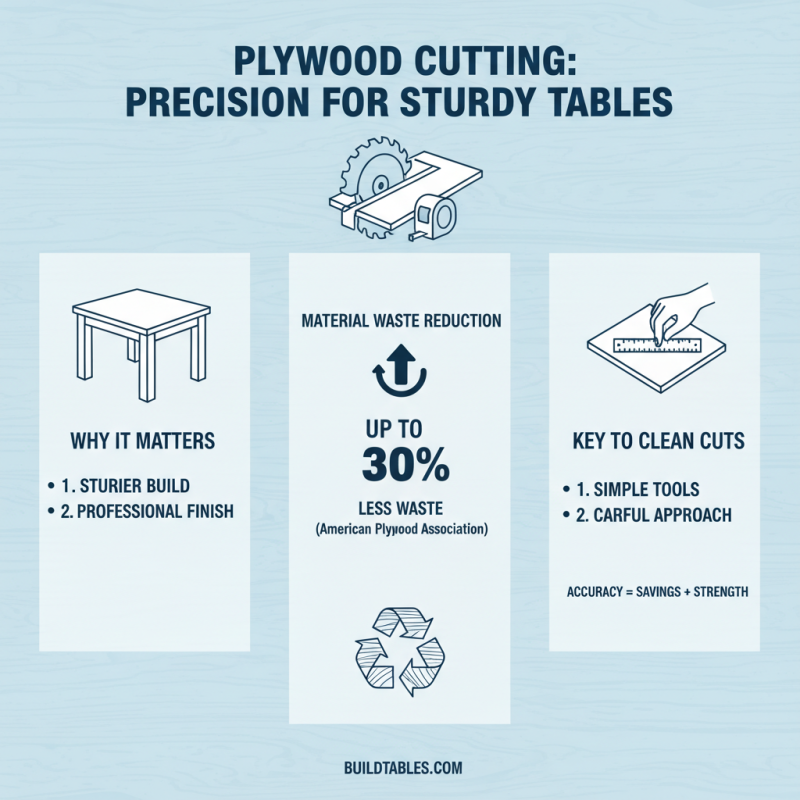
Step-by-Step Guide to Cutting Plywood Accurately
Cutting plywood accurately is essential for building a sturdy table. According to a report by the American Plywood Association, maintaining precision can reduce material waste by up to 30%. With simple tools and a careful approach, you can achieve clean cuts, resulting in a professional finish.
Begin by measuring your plywood. Use a reliable tape measure for accuracy. Mark your dimensions clearly with a pencil. For straight cuts, a circular saw or a table saw is ideal. Always use a straight edge along your cut line. This helps prevent the saw from veering off track. Tips: Check your saw blade; a dull blade can splinter the edges.
For intricate shapes, consider a jigsaw. The blade type matters here. A fine tooth blade works best for clean edges. Don’t rush the cutting process. Patience can save you from mistakes. Practice cutting on scrap plywood before working on your final piece. Remember, even experts make errors. Embrace the learning curve. Adjust your techniques as needed to improve your precision.
Assembling the Table Frame: Essential Techniques
Assembling the table frame is crucial. It determines the table's stability and durability.
According to a report by the Wood Products Council, quality frame assembly can enhance a table's lifespan by 30%.
Using plywood for the frame is both economical and visually appealing.
Start by measuring the plywood pieces accurately. Use a square to ensure perfect right angles. This step is often overlooked. Inaccurate cuts can lead to instability. It's common to see misaligned joints that compromise strength. Secure the joints using screws or strong wooden dowels.
The Adhesive and Sealant Manufacturers Association suggests using a reliable wood glue as an additional layer of strength.
Pay attention to leg placement and support beams. A common mistake is underestimating the weight distribution.
According to an industry study, tables with insufficient support can sag over time.
Consider adding diagonal braces for enhanced stability. Constructing the right frame demands attention to detail and patience.
Small errors can lead to significant issues. Take your time to reflect on each step. Consistency in assembly will result in a solid, well-built table.
Finishing Touches: Sanding and Sealing Your Plywood Table
Sanding and sealing your plywood table is crucial for durability and aesthetics. Start by using an orbital sander with 120-grit sandpaper. This will remove rough edges and surface imperfections. Gradually move to 220-grit sandpaper for a smooth finish. According to a study by the Wood Products Council, proper sanding can improve the finish's adhesion by up to 30%.
After sanding, it's essential to seal the surface. Use a clear wood sealer designed for plywood. Water-based sealers are popular because they dry quickly and have low odor. Ensure the room is well-ventilated. Apply the sealer with a brush, following the wood grain. Pay attention to any missed spots, as they can lead to uneven protection.
Tips: Always wear a mask while sanding to avoid inhaling dust. Consider using a vacuum attachment on your sander for cleaner results. Test the sealer on a small area first. This will help you evaluate the final look. Remember, imperfections in the sanding process can affect the sealer's performance. Evaluate and adjust your technique as needed. Your plywood table deserves careful attention to detail.
Tips for Maintaining and Caring for Your Plywood Table
Maintaining a plywood table requires attention and care. Plywood, while durable, can easily suffer from moisture damage. A report from the American Plywood Association indicates that wood should be kept away from high humidity. Using coasters and placemats can help prevent water rings. Regularly applying a wood conditioner also keeps the surface nourished.
Cleaning is another essential aspect. Use a soft, damp cloth to wipe the table. Avoid harsh chemicals as they can damage the finish. A study by the National Wood Flooring Association found that everyday cleaning prevents scratches and wear. If you notice scratches, consider light sanding with fine-grit sandpaper to blend them in.
Finally, remember to reposition your table occasionally. This simple act can help avoid uneven wear from direct sunlight. Plywood tables can fade if exposed too long. Checking the legs for stability is also wise. Uneven legs can lead to wobbling. It's important to reflect on these maintenance habits. Regular care keeps your table looking its best.