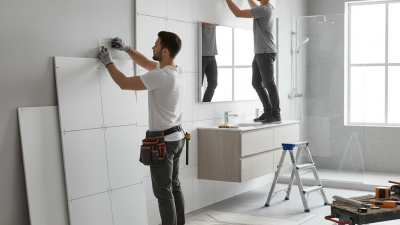
Waterproof PVC Wall Panels can help create a wipe-clean surface in bathrooms, kitchens, and utility rooms. But “waterproof” describes the panel, not necessarily the wall behind it. Seams, corners, cut edges, and penetrations around pipes still need careful detailing. A panel can look flawless while moisture collects out of sight.
The World Health Organization’s 2009 Guidelines for Indoor Air Quality: Dampness and Mould reviewed evidence linking persistent indoor dampness with respiratory health effects. The U.S. Environmental Protection Agency also advises drying water-damaged materials within 24–48 hours when possible. These reports make moisture control more than a cosmetic concern. Building scientist Joseph Lstiburek’s moisture-control guidance likewise emphasizes the wall assembly, not just its visible finish: a waterproof face cannot compensate for a wet or poorly detailed substrate. That is a practical takeaway, not a verified verbatim quotation. It matters when comparing panel thickness, joint systems, trim, and installation instructions.
This guide offers seven tips for choosing panels with the room and substrate in mind. Check product specifications, ask how joints are sealed, and confirm whether the manufacturer approves the system for your intended space. Also inspect the wall first. A damp patch behind a shiny new panel is still a damp patch. One detail is easy to overlook: even a good product can disappoint when the installation leaves water an easy path inward.
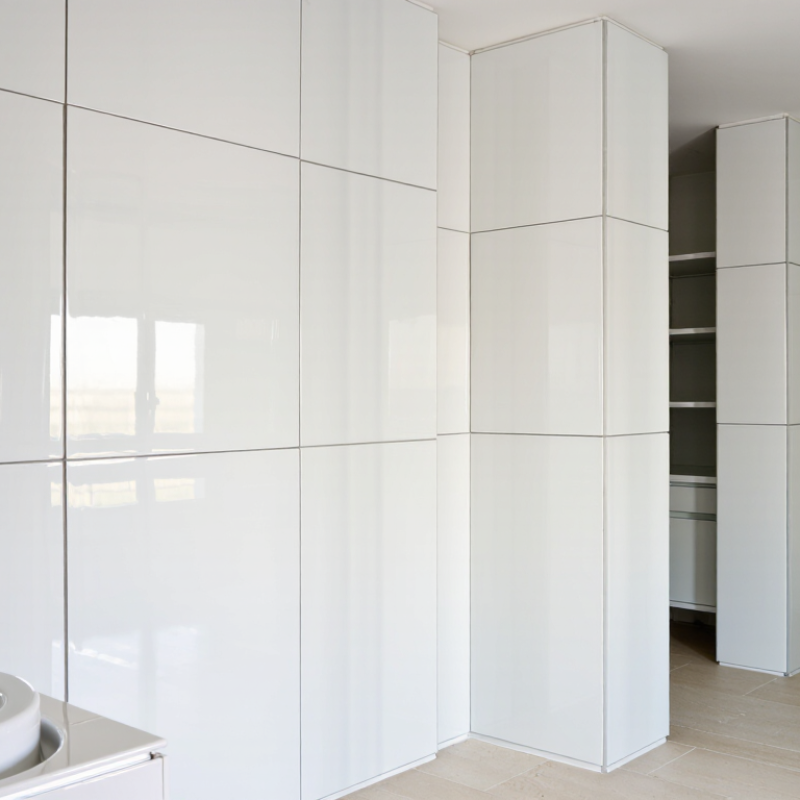
Before choosing waterproof PVC wall panels, map where water actually lands. A guest bathroom wall may see occasional splashes, while a shower enclosure faces repeated direct spray. Watch the room during normal use. Check for condensation on mirrors, damp corners, and water collecting near fixtures. Small clues matter.
Panels resist moisture, but they do not fix leaks or protect every weak joint. That distinction is easy to miss. Inspect the wall behind existing finishes for staining, soft spots, or a musty odor. If the surface is damaged, address the cause before installation.
In a shower, confirm that the full assembly—including the substrate, seams, and edges—is suitable for that level of exposure. Follow the panel maker’s installation guidance, especially around taps, corners, and wall-to-tray connections.
Those details often decide whether water stays out. Ventilation matters, too. A working extractor fan can reduce lingering humidity, but it cannot compensate for poor sealing.
I would also check how the room is used: children’s bath splashes and daily showers create different demands. It is tempting to call every panel “waterproof” and stop there.
That shortcut deserves a second look.
PVC wall panels differ in construction, thickness, and finish, so “waterproof” alone is not enough. Hollow panels are lightweight and easier to cut, but their channels may need careful sealing at edges and joints. Solid or denser panels feel sturdier and can better resist everyday knocks, though they may cost more and require stronger support. Check the installation guide, especially for showers, where water can reach seams.
Thickness affects rigidity, but thicker is not automatically better. Compare the stated measurement with the wall’s flatness and the fixing method; a thin panel can flex over uneven surfaces. I still find thickness easy to overrate. A sound backing and well-sealed joints matter just as much. For finishes, gloss reflects light and wipes clean, while matte surfaces hide water marks better. Textured finishes can add grip to the eye, but grime may collect in deeper grooves.
Tips: Request a sample and inspect it under your bathroom lighting. Bend or press it gently, then check the edges and surface for weakness. Confirm the panel’s intended wet-area use, compatible trim, and cleaning instructions. One small caveat: samples cannot show how every joint will look after installation.
Measure the wall before comparing panel dimensions. Record its height and width at several points, since older walls are rarely perfectly square. A 2.4-metre panel may reduce horizontal joints, but it can also create more offcuts in a small bathroom. Check the usable coverage, not just the panel’s full size. Leave room for corner trims and any expansion gap required by the installation instructions. Small details matter.
Look closely at the joint design. Tongue-and-groove edges can help panels align, while overlap joints may suit some layouts. Neither design makes a wall waterproof by itself. Water can still reach the substrate through poorly fitted seams, corners, or cutouts. Ask how joints should be sealed, and whether the recommended sealant is compatible with the panel material. Inspect a sample connection if possible. Feel for a tight, even fit.
Installation requirements can change the real cost and workload. Some panels need a flat, dry backing; others allow specific adhesive or fixing methods. Check the instructions before buying, especially for shower areas and around taps. A plan can look perfect on paper and still miss one awkward corner. Measure around pipes and windows, too. I would not guess there. A small cutout mistake can leave a visible gap, so confirm how edges should be finished before installation.
Check panel dimensions, joint design, and installation requirements before choosing a panel system.
How to read the chart: These are illustrative calculations, not standard panel sizes. Gross coverage equals panel width multiplied by a 2.4 m panel length; actual usable coverage can be lower depending on joint overlap. Measure the wall, check the manufacturer’s effective coverage dimensions, and confirm that the joint system and installation method suit the room and substrate.
Choose panels that belong with the room, not just the sample board. In a narrow bathroom, pale panels with subtle vertical lines can make the walls feel taller. A warm stone effect may suit timber cabinetry, while cool gray can echo chrome fittings and white ceramics. Houzz’s 2024 U.S. Houzz & Home Study found that 54% of surveyed homeowners renovated in 2023. That broad remodeling figure is a useful reminder: wall finishes rarely change alone. Compare samples beside the actual floor, vanity, and trim, under both daylight and evening lighting. Small rooms need restraint.
Scale matters. Large, busy patterns can compete with patterned floors or prominent fixtures; quiet finishes let those features lead. Match the panel’s sheen to the room, too: glossy surfaces reflect more light, but can make water marks and uneven walls easier to notice. I learned this the hard way in a dim washroom. The sample looked creamy at noon, then oddly pink beneath warm bulbs. Check several samples in place before ordering. For wet areas, confirm that the panel system is designed for that use and follow its joint-sealing instructions. The U.S. Environmental Protection Agency recommends keeping indoor relative humidity below 60%, ideally between 30% and 50%; waterproof cladding does not replace ventilation or moisture control. A color match can be imperfect. That is often better than forcing every surface to look identical.
Tip 1: Read the safety documents, not just the product description. Waterproof does not mean fire-resistant or suitable for every room. Check the panel’s intended use, installation instructions, and relevant local building requirements. Ask how it should be fixed to the wall, especially in a damp bathroom where a poor substrate can cause trouble later. Details matter.
Tip 2: Think about cleaning before choosing a surface. Smooth panels are usually easier to wipe than deeply textured ones, where soap residue can collect. Use the cleaner recommended in the care instructions; harsh products may dull or damage the finish. Tip 3: Read the warranty conditions closely. Check its term, what defects it covers, and whether incorrect installation or neglected maintenance could affect coverage. Keep receipts and installation records. Small paperwork, real value.
Tip 4: Compare the complete installed cost, not just the price per panel. Include trims, adhesives, wall preparation, labor, and extra material for cuts or mistakes. A cheaper panel can cost more once those items are added. I would also leave room in the budget for an imperfect cut; it happens, and pretending otherwise makes estimates less useful.
| Tip | What to Evaluate | Questions and Evidence to Check | Why It Matters |
|---|---|---|---|
| 1 | Confirm the panel is suitable for the room | Check the manufacturer’s installation instructions for approved locations, temperature limits, and whether the panel is intended for showers, bathrooms, kitchens, or other wet areas. Confirm whether joints and edges require specific trim or sealant. | “Waterproof” describes the panel material, not necessarily the whole installation. Water can enter through seams, cut edges, corners, or poorly sealed penetrations. |
| 2 | Review fire and indoor-air documentation | Ask for applicable fire-test or classification documents and any emissions test reports. Check that the documentation covers the exact panel construction and intended application, and verify local building-code requirements. | Fire performance and emissions depend on the product and test method. A general claim or a rating for a different assembly may not establish suitability for your project. |
| 3 | Inspect construction and installation requirements | Compare panel thickness, surface finish, edge profile, joining system, and substrate requirements. Review guidance on wall preparation, adhesive or fastener use, expansion gaps, and sealing. | Compatible components and correct installation help reduce movement, open joints, and water intrusion. The panel alone does not compensate for an unsuitable substrate or installation method. |
| 4 | Understand routine cleaning and repair | Check which cleaners are allowed and which are prohibited. Ask how to remove soap residue, whether abrasive pads or solvents can damage the finish, and whether individual panels or trims can be replaced. | Cleaning guidance affects appearance and service life. Repair options are useful if a panel is scratched, cracked, or damaged during later plumbing work. |
| 5 | Read the warranty in full | Confirm the warranty period, what defects are covered, who is eligible to make a claim, and whether installation must follow specific instructions. Check exclusions for labor, water damage, cleaning products, or improper installation. | Warranty terms vary by product and do not necessarily cover installation costs or damage caused by leaks, maintenance, or installation outside the stated requirements. |
| 6 | Compare the complete installed cost | Estimate the required panel area, including cuts and waste. Add trims, sealants, adhesives or fasteners, substrate preparation, delivery, tools, and installation labor. Compare like-for-like coverage and specifications. | A low panel price may not represent the lowest project cost. Accessories, preparation, and labor can make up a significant part of the installed total. |
| 7 | Check availability and project fit | Request a sample and verify color, texture, dimensions, and finish under the room’s lighting. Confirm stock, lead time, matching trim availability, and whether enough material can be obtained for repairs later. | Samples help reveal differences that online images may not show. Consistent supply and compatible trim can simplify installation and future maintenance. |